
Introduction
In the last previous posts, we were talking about OSDCloud command line interface and OSDCloudGUI. But David and his community team are working about more exciting thing. They have made Microsoft Azure integration into this OSD module, and it calls OSDCloud Azure.

This capability can be useful in an Enterprise environment:
- In case, you want to split development and production.
- In case, you want to split the server team and client team.
- In case, you want to have Role Based Access Control (RBAC) to your Azure resources.
- In case, you want to use images from your VLSC / MSDN portals.
- In case, you want to use custom images.
- In case, you want to deploy worldwide and want to scale your deployment resources, helped by Microsoft Azure.
Here is a basic comparison between OSDCloud and OSDCloud Azure:

Costs: Azure is not free, and storage has costs, but it’s cheap. It should cost about $0.50 per deployment. Otherwise use the official price calculator.
Setup
The official documentation on https://osdcloud.com is just perfect. Let’s have a look there and take a walkthrough with a very details guides.
Azure Portal
Storage Accounts
This is the masterpiece in this scenario. You can compare with a deployment server.
https://www.osdcloud.com/azure/setup/storage-accounts
Note: for OSDCloud to find the correct storage account to use, the storage account contains a tag, which is a key value pair. OSDCloud ignores all storage accounts that do not have a tag key of OSDCloud (the value doesn’t matter yet, just the key). More detail here.
Storage Containers
Storage Containers exist within a storage account. These are like deployment shares, which can either be public or private.
https://www.osdcloud.com/azure/setup/storage-containers
Storage Access Control (IAM)
You can do the role assignment in this part.
https://www.osdcloud.com/azure/setup/storage-access-control-iam
Infrastructure As Code
You can automatize this process either with Bicep or with Terraform.
More official info here.
Deploy
After these back-end prerequisites have been done, you can use the same WinPE ISO image to boot up your machine.
The magic command is here:
Start-OSDCloudAzure


- For Azure device authentication, you have to use your browser and confirm your account. Then choose between your Azure subscriptions, if you have more in you tenant.
- Verify that you are able to see your OSDCloud tagged storage account(s).
- Verify that your are able to see the appropriate containers.
- Menus and their options are the same, like OSDCLoudGUI has. It’s already described in this post.
- Verify that you have all your available OS images in OSDCloud Azure.

The process starts to download the blob image from Azure storage.
If you have selected an ISO instead of a WIM, and the index was set to Auto, you will be prompted to select a Windows Image:

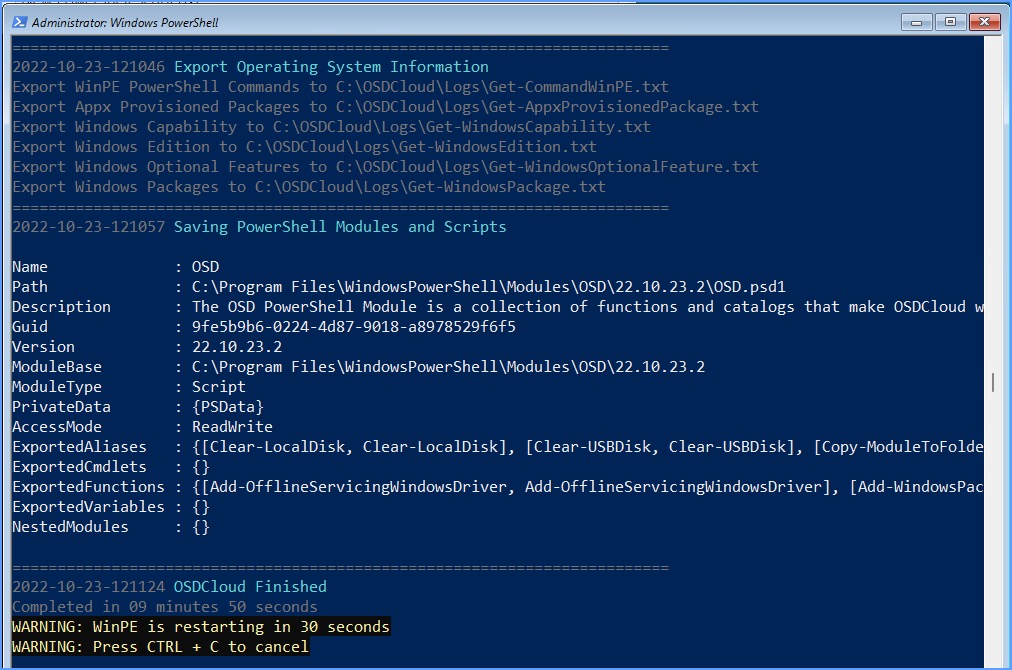
That’s it. If everything was worked out properly, within a few minutes you will have a completed OS ready to reboot and maybe make some OOBE magics in the next phase. 😉 As we already saw in this post.
If you just want to try and test this scenario on a non-OSDCloud boot image, like MDT and/or Configuration Manager, as long you have PowerShell installed in WinPE, open a command prompt and run the following command:
powershell iex (irm az.osdcloud.com)Happy #OSDClouding in the new Azure world!
PS: some insider tip, follow David on Twitter. In the next months, some game-changer functions are coming!